
With Halloween less than two weeks away, we’re skipping the more time-consuming DIYs and showing you two unbelievably easy and straightforward pumpkin décor ideas that you can put together at the drop of a (witch) hat.
First, a throwback DIY that is so quick and simple we had no choice but to raise it from the dead. If you’re looking for an easy DIY that will instantly make your doorstep more festive for your favorite frightening holiday, Halloween, this is it!
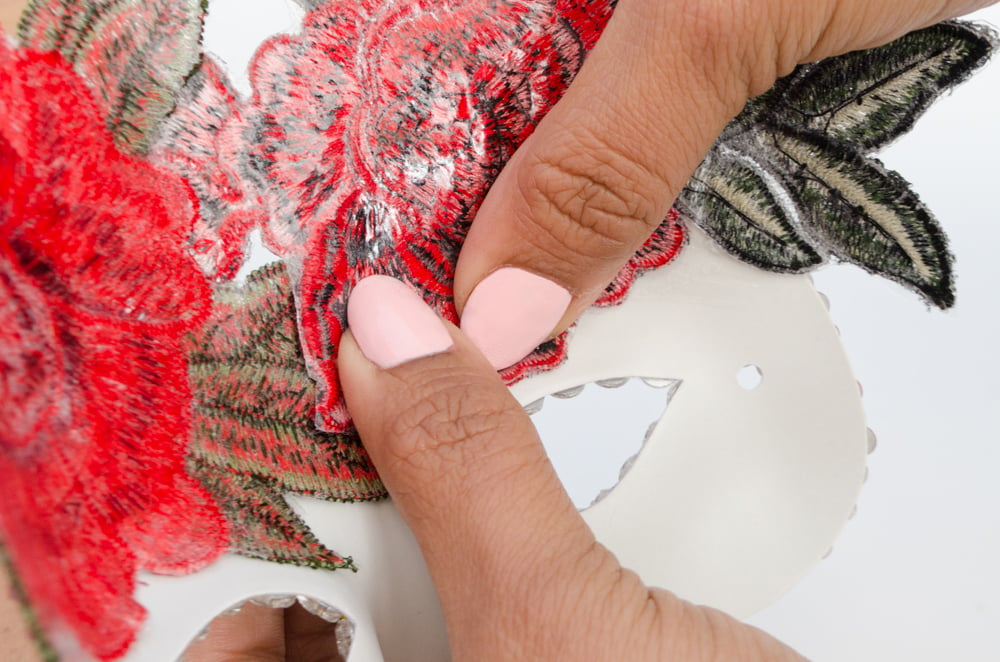
For a pumpkin decoration, instead of going the traditional carving route, we decided to make use of our leather cord to create a unique embroidered effect. We also used a craft foam pumpkin for this DIY so that it can last multiple seasons, but you can swap it out for the real thing too! Get ready to not carve up some pumpkins!
Spooky Embroidered Pumpkin
What You’ll Need:
Spooky Image of Your Choice
Pumpkin

1
Cut out your image that you drew or printed. Pick a design that isn’t too complicated.

2
Pin paper cut-out to the pumpkin using the pearl head pins.
3
Cut out the top of the pumpkin. If you’re using a real pumpkin you’ll want to clean out the inside!

4
Make a knot at the base of the leather cord.

5
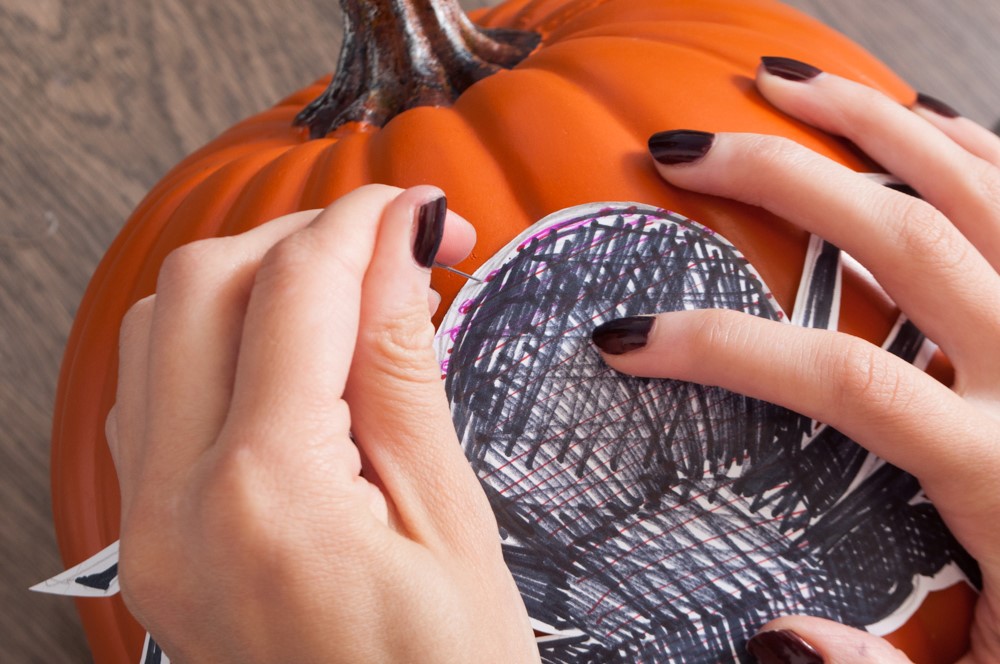
Either drill or puncture small holes into the pumpkin using your cutout as a guide. Make sure the holes are big enough to thread the cord through comfortably.

6
Start weaving your leather cord through all of the holes. Make sure every hole has a corresponding hole close by.

7
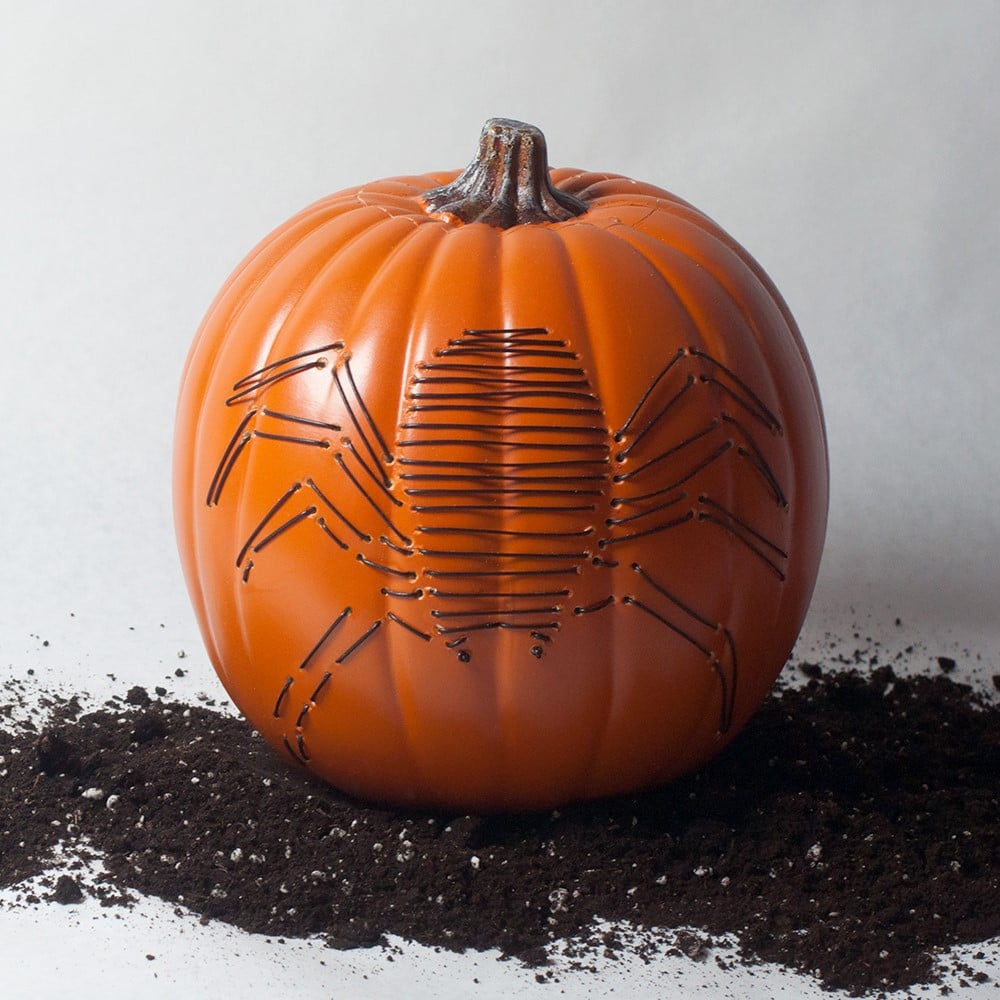
Continue weaving until the image is complete. For small areas you can tie a knot and weave back through one hole, as we did with the spider fangs.

And you’re done! #squadgoals
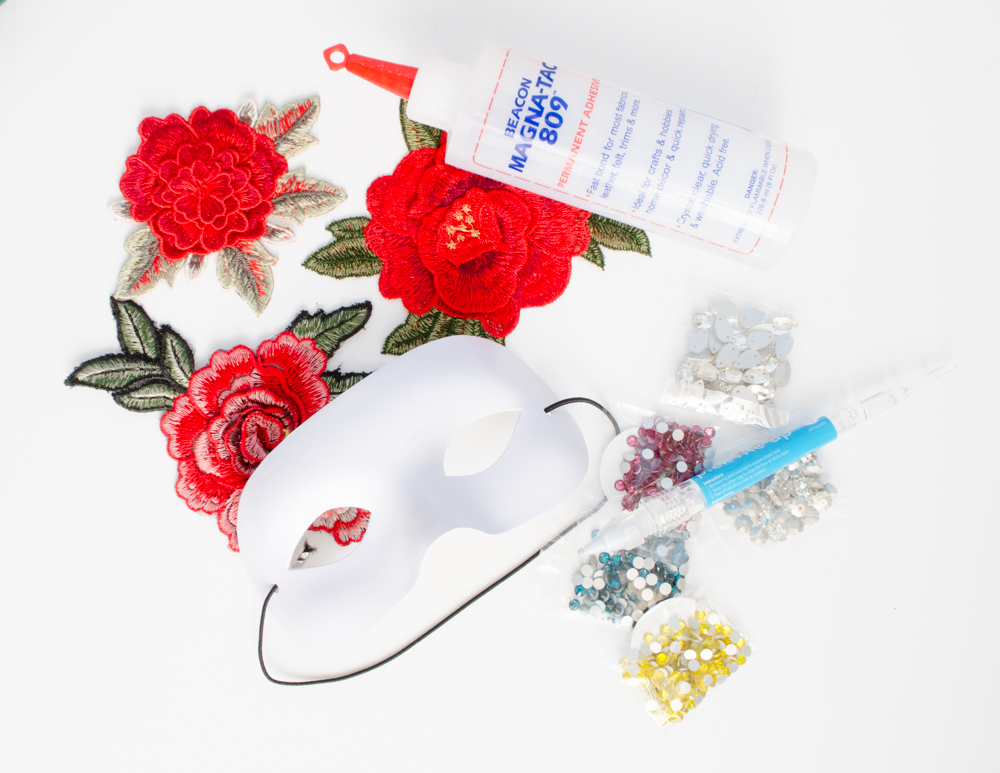
Studded Pumpkin
What You’ll Need:
Pumpkins in Assorted Sizes

1
Get several pumpkins in several sizes. We chose smaller pumpkins because we were low on time but this DIY is great for pumpkins of all sizes. You can use our Hotfix Nailheads if you are working with a hard plastic pumpkin.

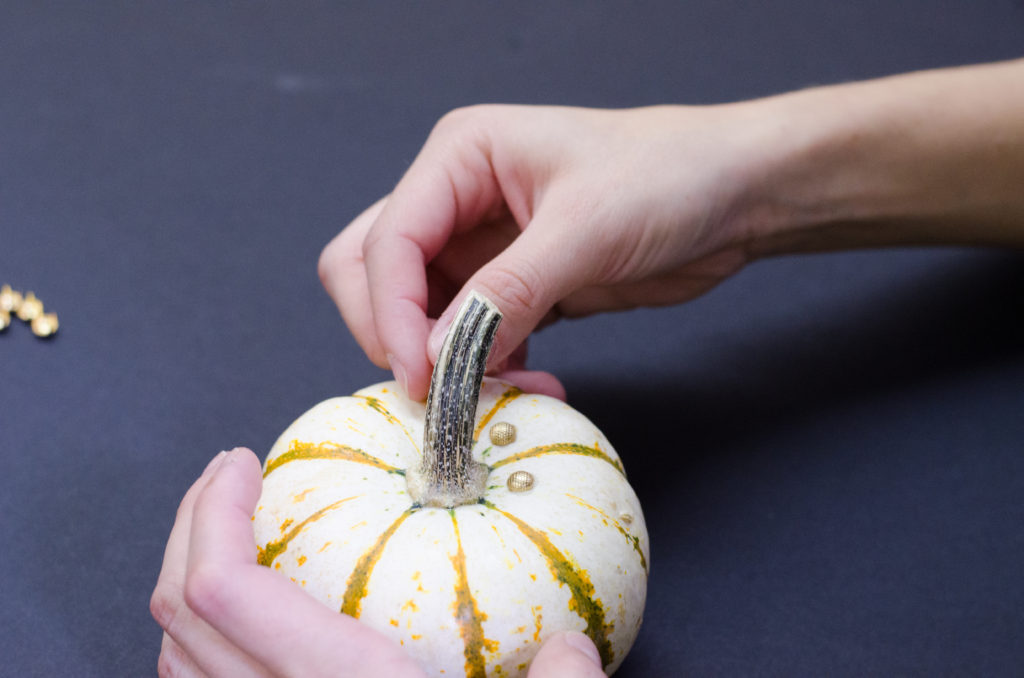
2
Carefully push the prongs of the nailhead into the skin of the pumpkin until they are secure. Or glue them on with Hotfix nailheads if you are using a plastic pumpkin.
3
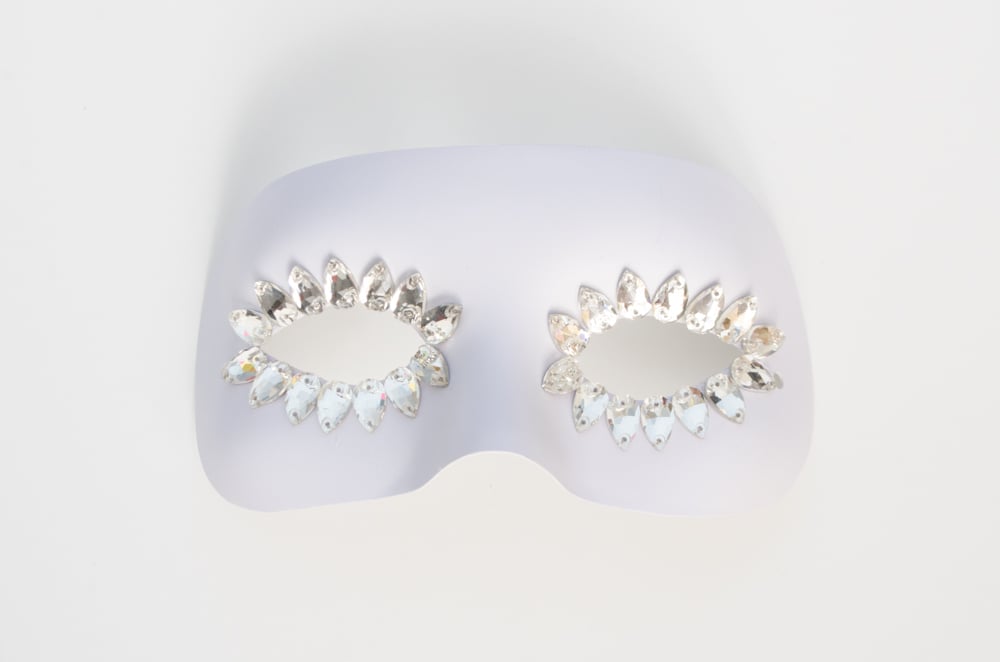
Play around with creating different patterns using various colors, shapes and sizes. Add as many or as few as you’d like and then you are done!

4
Here we used small round nailheads for our tiny pumpkin.


5
For this striking white pumpkin, we used different types of nailheads to create a playful look.
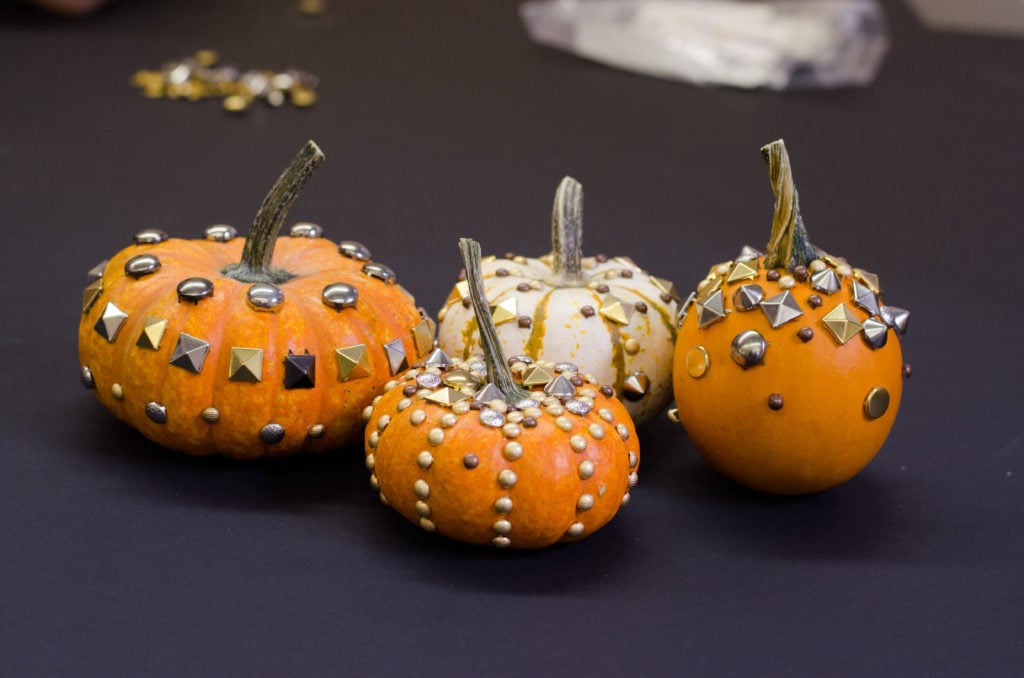
And here are the four beautiful pumpkins that were crafted in just minutes.
Happy Halloween!


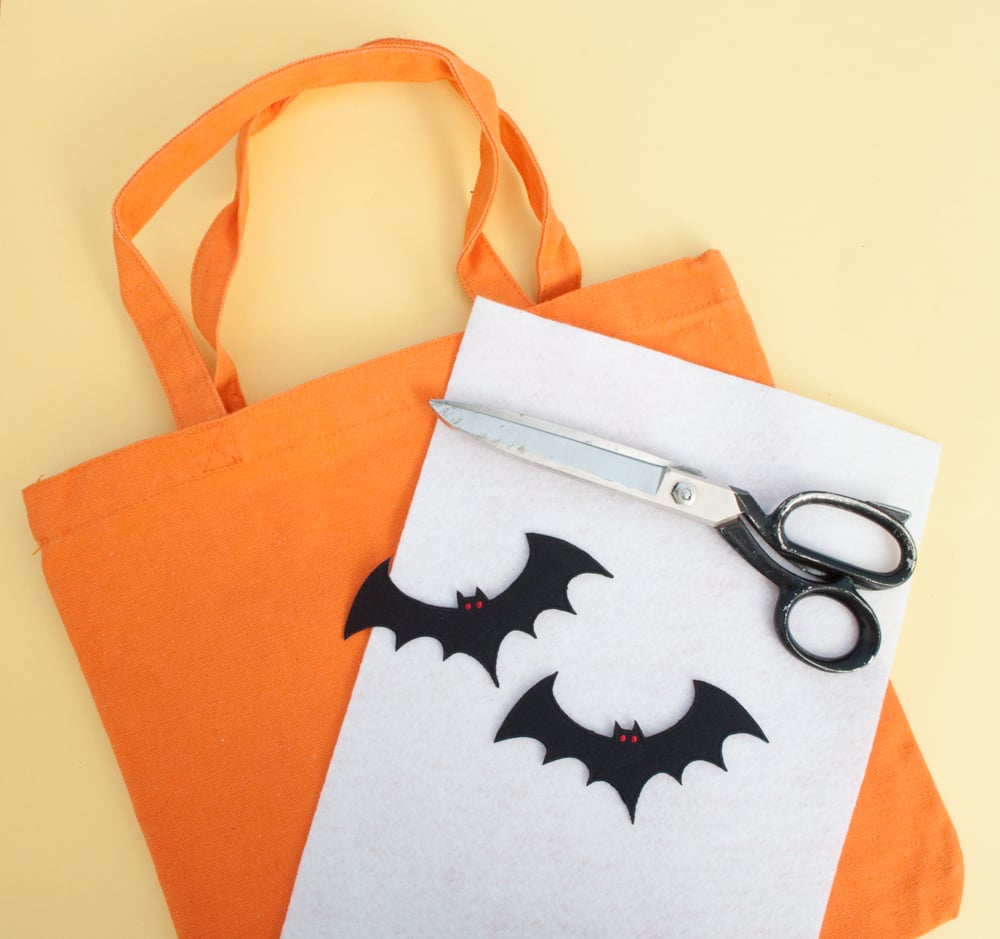
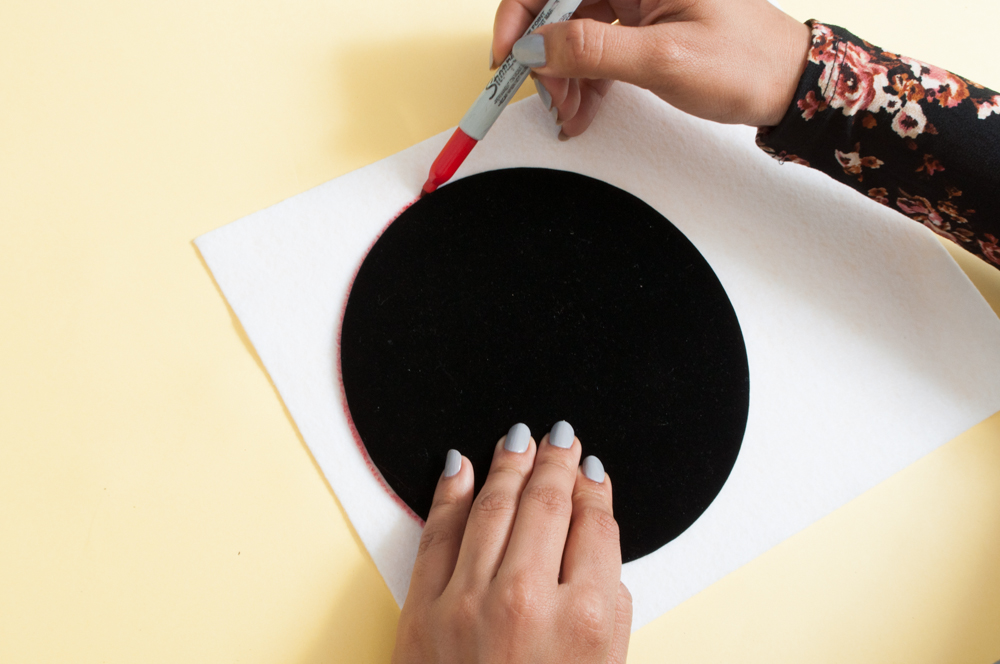 1. Trace a circle on the felt to make the shape of the moon. Make sure it’s proportionate to the bag and the patches.
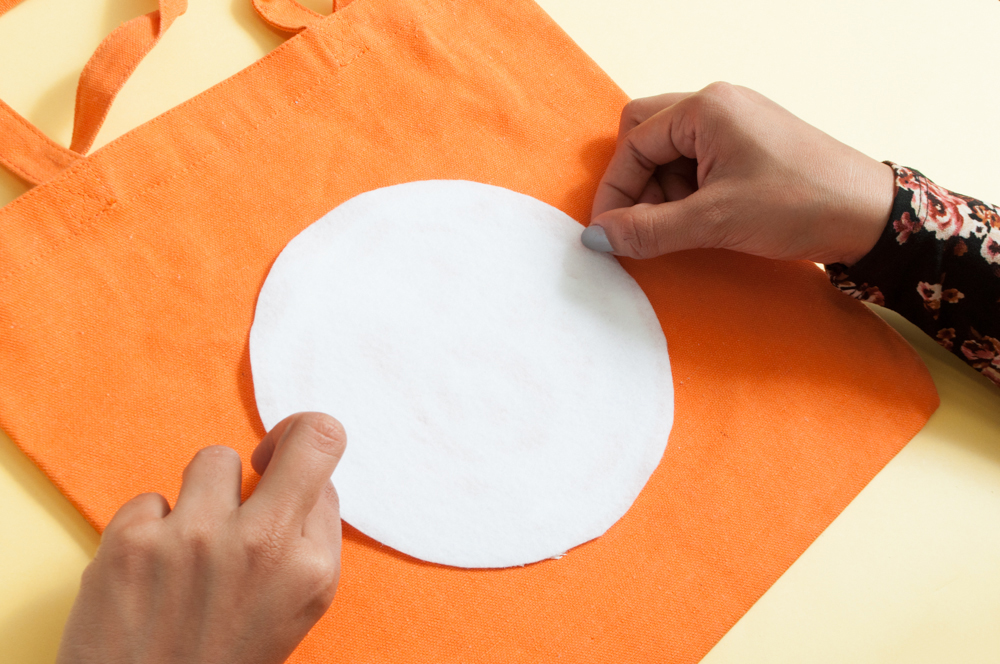 2. Cut the circle out and using the fabric glue, glue it onto the bag.
 3. Place patches as shown.
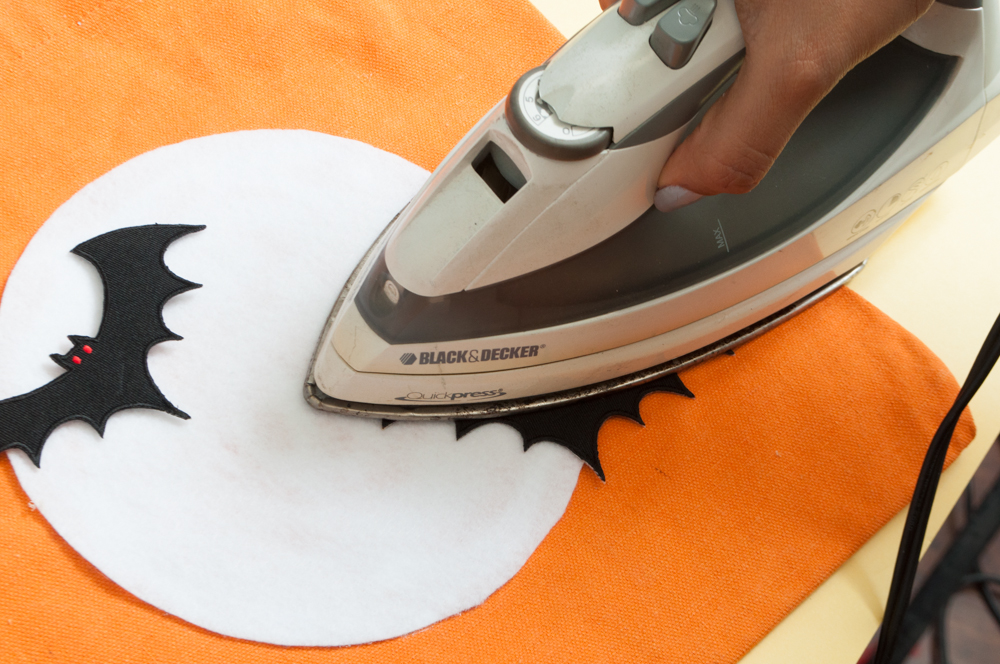 4. Iron the patches on high heat for 20 seconds each. Repeat if necessary.
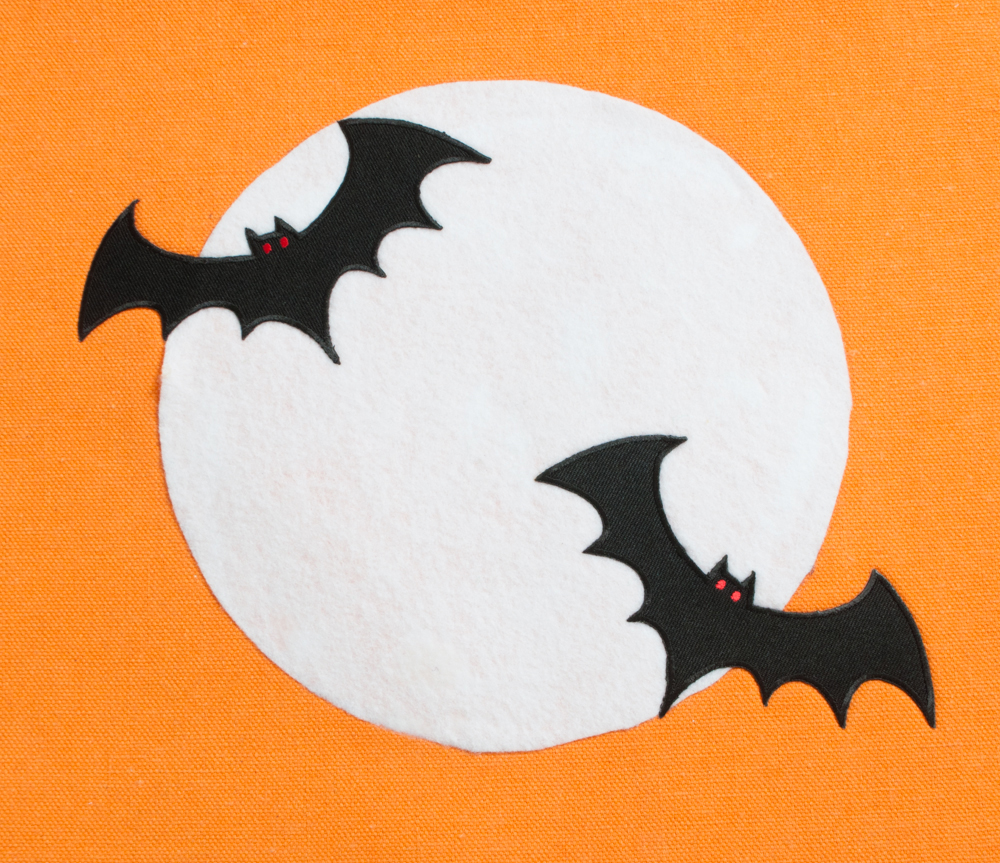

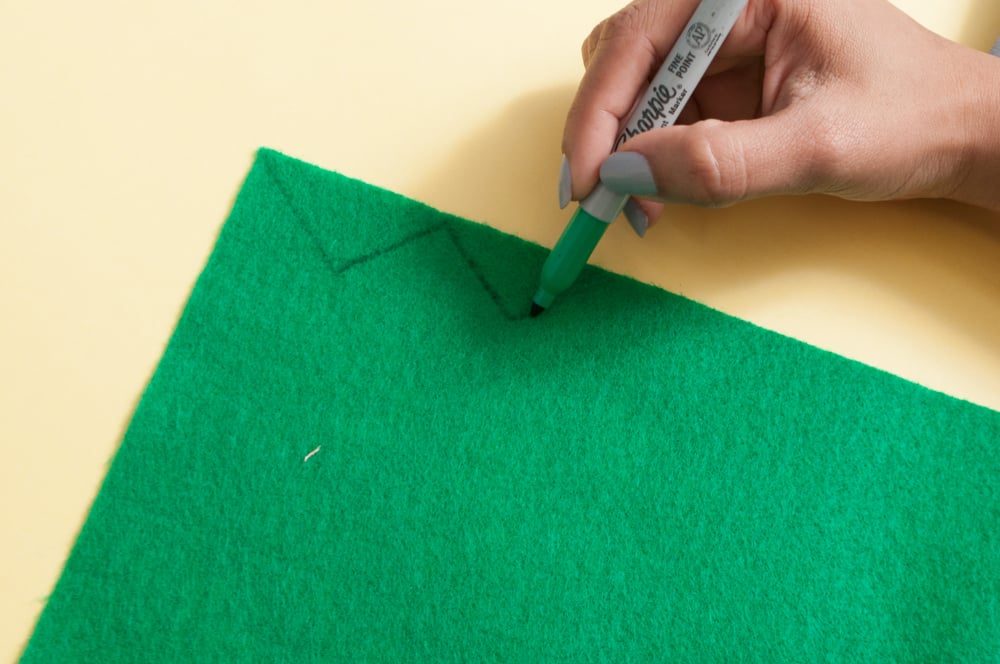 1. Draw a zig zag line on the long side of the felt sheet.
 2. Cut the felt along the line. Using the fabric glue, glue it onto the bag.


